
First thing: Identify your version Macbook.
RAM
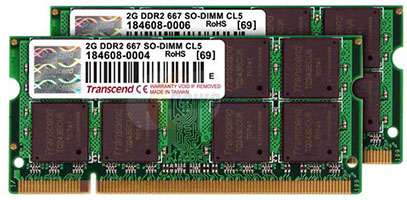
Type:200-Pin DDR2 SO-DIMM
Speed:DDR2 667 [PC2 5300
The first upgrade is to put more RAM in your Macbook). You probably have at least 1GB, but 4GB is so cheap that there is no reason to upgrade. You can buy 2x2GB kit on Amazon for $38. You should know that first-gen (2006) models can only go up to 2GB, second-gen (late 2006-mid 2007) up to 3GB, and everything after June 2007 can use the full 4GB. Note: You can put in more RAM that your Macbook can address and faster speed, but you won’t get any performance gains. You should only do this if the bigger/faster is cheaper because there is more supply of the newer stuff.
Hard Drive
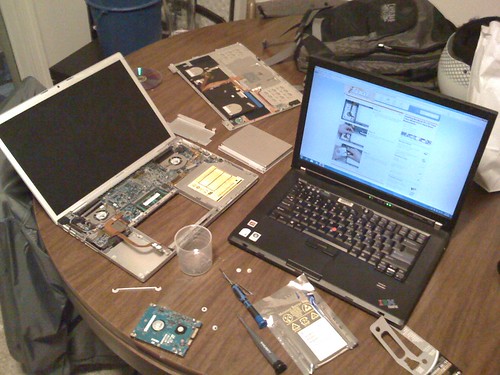
Warning: This process is complicated and not intended for people who are not comfortable taking apart a computer.
- Step 1: Decide which hard drive to buy
- Step 2: Find/buy the tools needed
- Step 3: Get to work on upgrading
Identify
This part is important to find the right hard drive and to use the correct guide to disassemble your laptop to install the hard drive. There are two types of Macbook Pro (discrete and unibody). The discrete is all aluminum and bought before late 2009 October 14, 2008. The unibody was released early 2009 late 2008 and has a black bezel around the monitor.
Hard Drive
 Western Digital Scorpio Black WD3200BEKT 320GB 7200 RPM 16MB Cache 2.5″ SATA 3.0Gb/s
Make sure not to choose one with a built-in shock/drop sensor. It will interfere with the sensor built-in to the laptop. I went with the Hitachi 7k320 because it was the best value, but it isn’t the best performance. I would have gone with the WD Scorpio Black for best performance. These are all 320gb 7200rpm hard drives, which are the best performance/value ratio right now. Research more about these hard drives with this comparison at Tom’s Hardware.
Tools Needed
- Phillips #00 Screwdriver – eyeglass screw size
- T6 Torx Screwdriver – 6-point star shaped
- Spudger – or a flat rubber/plastic tool to pry off components that are taped down
Guide to Disassemble
I used the guide from iFixit. (PDF version)